It got too dark to take decent photos, but the EVision is in the car, flashing lights, beeping noises and all. I like the spectacle of it all as makes the car feel like it’s coming alive as the display lights up and subdued beeps from the HMI let you know the car’s ready to go. I’m not using the thermocouples and the speed sensor isn’t hooked up (in anticipation of the circuit Martin’s building that will condition the tachometer output directly from the inverter) and I haven’t configured the software so the display showed an angry red exclamation mark due to some parameter being out of bounds. The LEDs at the HMI also gave a good show, I didn’t know what they were for until Victor replied to someone else’s query on the EVDL with the following:
Red LED is alarm – for any value outside programmed limits you set. White LED is to illuminate the button when external lights are on and display dimmed (at hight). BTW, you can choose degree of night dimming using supplied GUI.
Buzzer will chirp to confirm page selection and beep with alarm. You can silence it by pressing the knob button, but exclamation point (alarm indicator) and red LED on the button will still lit until alarm conditions will be corrected.
 I’m planning on replacing the knob with a translucent one that will cover the LEDs, diffusing the light and fitting the design of the interior better.
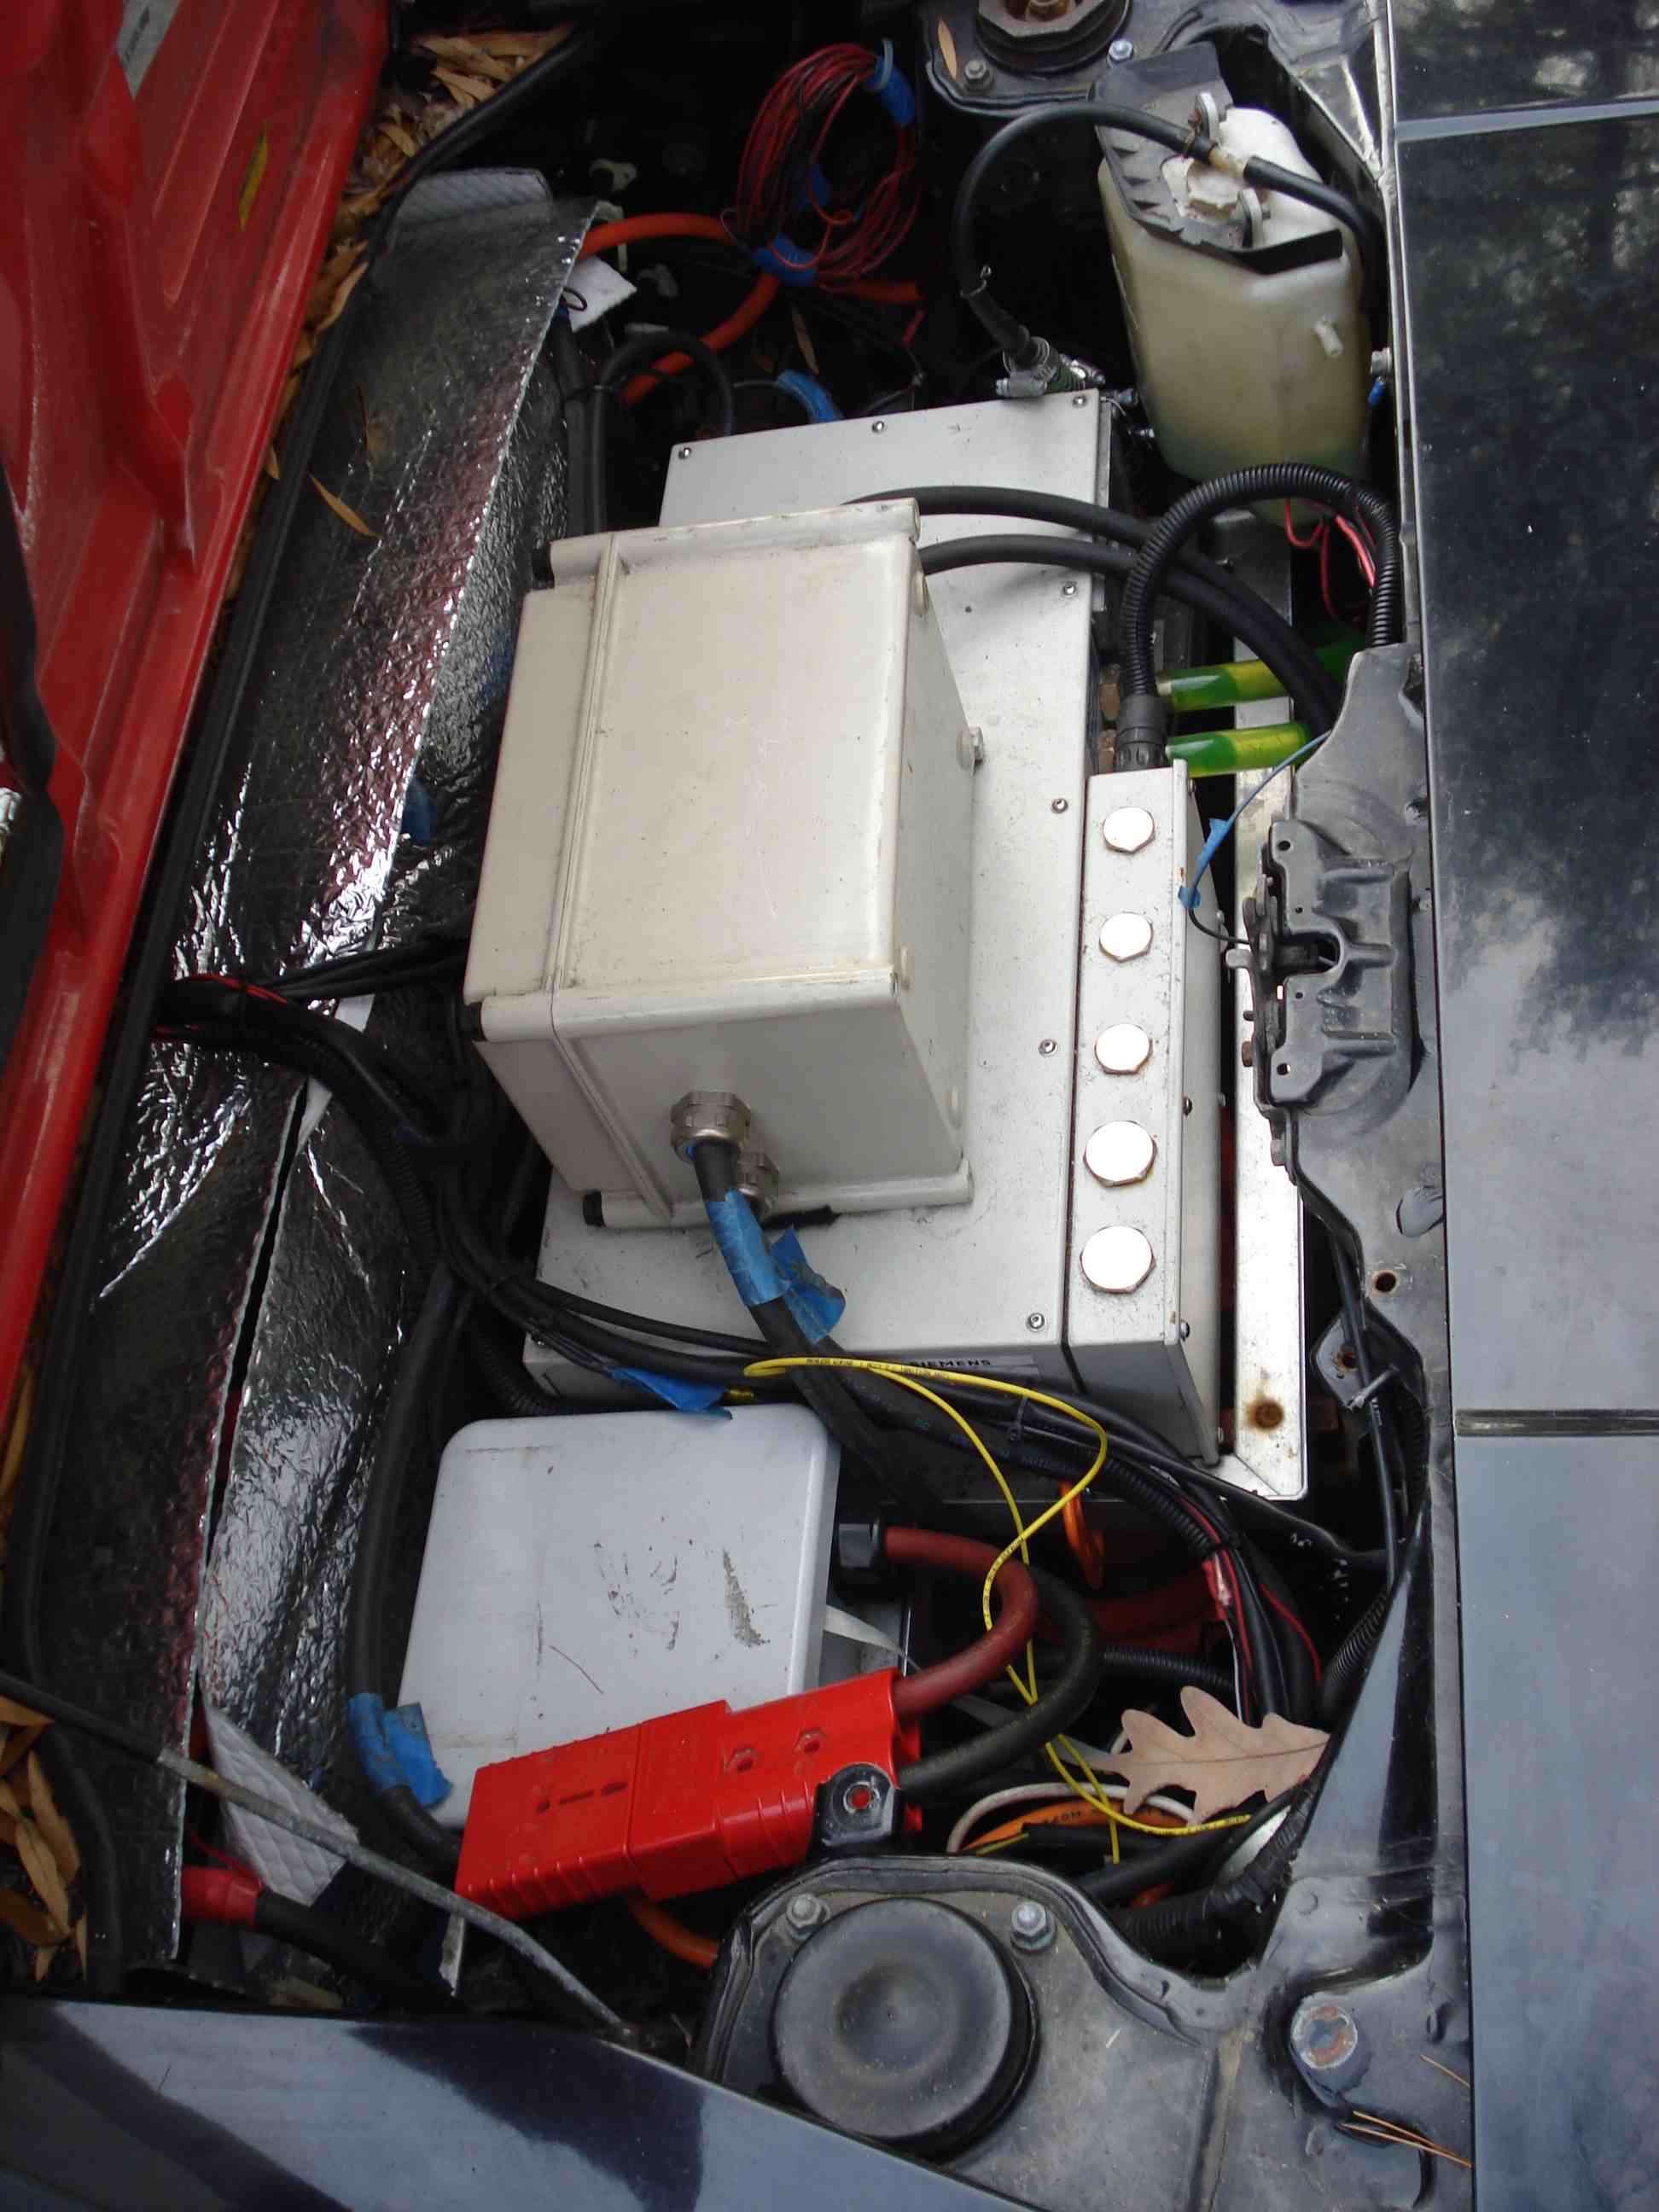
Tomorrow’s pictures will be more informative, but here’s one of the box I installed the EVision main board inside, it shares a corner of the trunk with the charger.